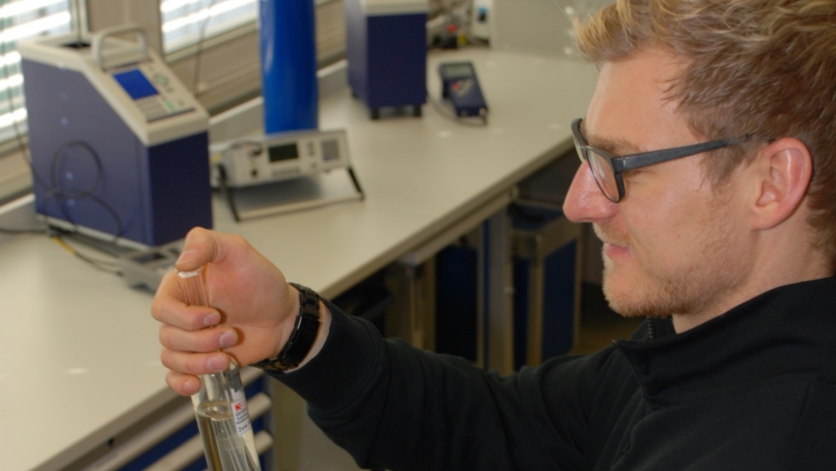
In temperature calibration technology, there are two methods of calibration – the comparative calibration and the fixed point calibration. The method of calibration to be used will be defined through the demands on the accuracy and the type of test instrument. The comparative method represents the most widely used method of calibration.
So how do the comparative calibration and fixed point calibration methods differ? Using the example of calibrating a resistance thermometer, this blog article explains both methods and thus tries to convey to the reader a better understanding.
The comparative calibration
As the name already implies, this type of calibration is carried out by comparing the resistance thermometer being tested with a higher-quality reference thermometer. The higher-quality reference should thus exhibit an accuracy of three or four times higher than the thermometer being tested. Both thermometers are placed into a single homogenous temperature source. When placing the thermometers, care should be taken to ensure a small distance between them and that the sensitive points (meaning the measuring points) are at the same height. As a temperature source, liquid baths or dry-well calibrators are generally used.
The fixed point calibration
The fixed point calibration, in contrast to the comparative calibration, is carried out against the defined triple, freezing and melting points from the International Temperature Scale of 1990 (ITS-90). The fixed points define temperatures at which the physical state of substances alter. The most important fixed point of the ITS-90 is the triple point of water. At a temperature of 0.010 °C the physical state of high-purity water is constantly changing between steam, ice and liquid water. The quantities of the physical states always remain in proportion. Generally, only national laboratories or laboratories qualifying for very small measurement uncertainties work with these fixed-point cells, as these are costly and specialised only for this application. Highly stable PRTs (platinum resistance thermometers), which will be used as reference thermometers, are calibrated using the fixed point method. The reference sensor is inserted into a closed, or also open fixed-point cell, which holds the temperature constant over a long period.
Example: fixed points from -189 to 660 °C in accordance with ITS-90:
| Fixed point | Temperature |
| Triple point of argon | -189,3442 °C |
| Triple point of mercury | -38,8344 °C |
| Triple point of water | 0,01 °C |
| Melting point of gallium | 29,7646 °C |
| Freezing point of indium | 156,5985 °C |
| Freezing point of tin | 231,928 °C |
| Freezing point of zinc | 419,527 °C |
| Freezing point of aluminium | 660,323 °C |
Note
Further information on our Services “Temperature calibration” can be found on the WIKA website.


Thanks for such valuable post.