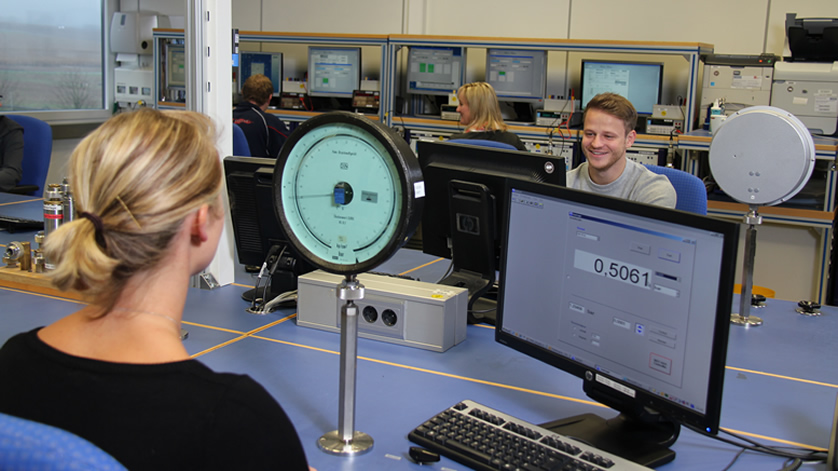
Due to a modification in the Measures and Verification Ordinance and the metrological traceability policy of the German Accreditation Body DakkS, evolved structures have been considerably muddled up. At first glance, it looks inscrutable and impenetrable. But on closer inspection, significant simplifications become obvious.
All things considered, there remain three alternatives between which the user of pressure measurement technology must choose depending on the respective application.
- Test resports, ISO certificate…
There are no limits for the imagination regarding the choice of a name. Since this form of documentation is not subject to specific standards, the scope for interpretation of the executing “laboratories” is wide. All these certificates are classified according to the new DAkkS code of practice 71SD0005 as “Results report without accreditation symbol”. If the calibration laboratory is accredited, as it is the case for WIKA, these “certificates” are no longer accepted as a proof of traceability It is therefore necessary to pay attention in order to prevent unpleasant surprises during your next audit. In general, this variant is no longer advisable and should only be used as an ordinary evidence of functionality.
- DKD/DAkkS traceable calibration certificates
This is the “all-rounder” which is, according to the new classification, also called “calibration certificate with accreditation symbol”. The monitoring by the DAkkS (or any other local accreditation body) at regular intervals ensures the continuously high competence of the laboratory. In addition to the specifications regarding equipment, staff and calibration processes, this includes in particular the provisions on the contents of the calibration certificate. A comforting feeling not only for your next inspection but also if the measuring instrument is used for critical processes or other internal inspection equipment monitoring. According to the multilateral agreement between EA and ILAC, they are accepted far beyond the national borders.
- Legal verification certificates
For a lot of people, this was and is the highest ranking form of documentation. But actually, they are only required in a very limited number of cases and, in all other applications, they are no longer accepted. Due to the new provision (MessEv 2016 §1), the possibilities for “Instruments prepared for verification” or the verification capability for customer-specific versions do not apply. In practice, measuring instruments for pressure and temperature are only regulated by the new Verification Act or the Verification Ordinance if the measurement is used for the determination of other measurement parameters, e.g. distribution of natural gas. They are also officially used in road traffic, for example for pressure gauges for break pressure measurements or tyre inflators. In these cases, you have to buy an instrument with “verification”. WIKA offers this official verification for new instruments and confirms the conformity upon delivery. Together with this certification, a new verification can be carried out after the end of the legally prescribed expiration period. For all other applications, the DAkkS (means traceable) calibration certificate is the better choice.
Note
The WIKA calibration laboratory is accredited by the German Accreditation Body (Deutsche Akkreditierungsstelle – DAkkS) in accordance with DIN EN ISO / IEC 17025 for the measurement parameters temperature, pressure, DC current, DC voltage and DC resistance. Further information on our calibration laboratory or an on-site calibration with the WIKA calibration van can be found on the WIKA website. If you are interested in our services, please feel free to contact us at [email protected] or find your local contact on the WIKA website.

