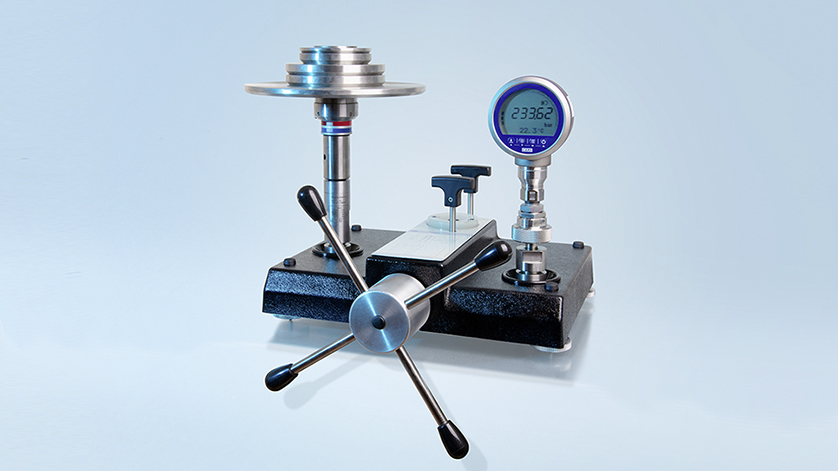
Dual piston deadweight testers can greatly enhance a lab’s ability to calibrate wide pressure ranges with the highest accuracy. With transducers and devices under test (DUTs) that have a wide measuring range, calibration can be a lengthy process, as you must change pistons in between test points in order to calibrate its entire range.
However, a dual piston deadweight tester is equipped with a high range piston and low range piston, which allows the technician more flexibility and efficiency when it comes to calibration. This advancement comes from decades of innovation and customer interaction to find a solution for industry needs.

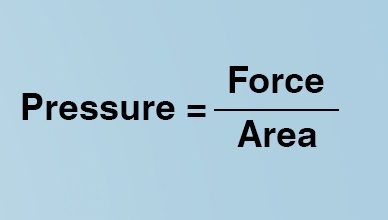
Formula for pressure calculations
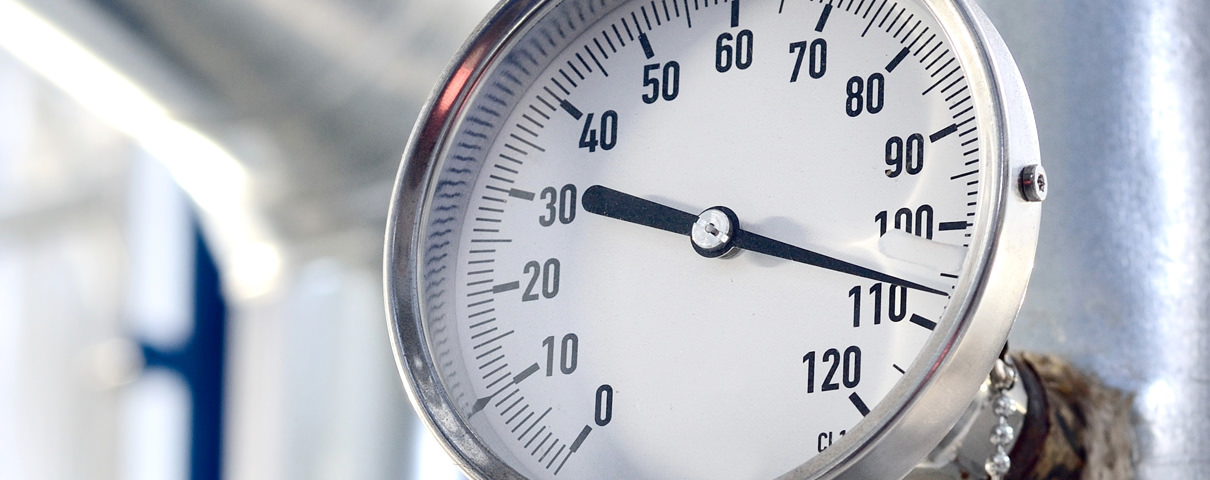
Since the Industrial Revolution, high accuracy pressure measurement has been a key requirement in process industries. Pressure measuring instruments like gauges were employed to measure and monitor pressure conditons. They must be calibrated against instruments of a higher degree of accuracy. Deadweight testers (also referred to as pressure balances) are high accuracy instruments used in the calibration of electronic or mechanical pressure instruments. The core component of a deadweight tester is a precisely manufactured piston-cylinder system, onto which a mass load is applied in order to generate the individual test points in a calibration.
The mass load is proportional to the target pressure, which is achieved through optimally graduated masses. The design of the entire calibration system, as well as the precise manufacturing of the piston and cylinder, ensure quality performance with long free-rotation time and low sink rates of the piston. With measurement uncertainties down to 0.002% of reading, deadweight testers are the golden standard in calibration.
A deadweight tester typically consists of a single piston-cylinder system. This requires mass sets to be changed in order to calibrate multiple or wide measuring ranges. This could become a cumbersome process, one that requires many resources. In 1953, the entity today known as DH-Budenberg pioneered the first dual range piston-cylinder technology with two pistons housed concentrically in one unit. DH-Budenberg was later acquired by WIKA in 2011. The first design included 1/8 in2 (low pressure) and 1/180 in2 (high pressure) pistons housed in one unit. Using a single mass-set it was now possible to generate two points of equilibrium at 55 bar (low pressure) and 550 bar (high pressure) respectively. This was followed with the release of high pressure variant that could generate pressure upto 1100 bar.

Explanation dual piston design
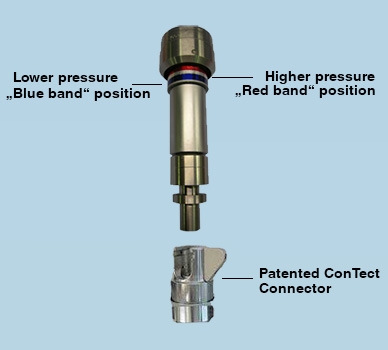
The first dual piston design was largely constructed of tool roll, and had an accuracy of 0.03 % of the pressure being measured in the standard model and 0.05 % in the high pressure model. In dual piston calibration, the load on the low pressure piston is transferred to the auxiliary piston, which is directly connected to the weight carrier. When correct pressure is obtained, the piston head skirt floats within the low range or “blue band.” To reach high pressure, the pressure is increased and the low pressure piston rises until a knife-edge on the bottom flange makes a seal against the low pressure cylinder and acts as the high pressure cylinder. Since the low pressure piston does not contribute to the overall weight of the piston and weight carrier, the weight carrier picks up the auxiliary weight to compensate. When correct pressure is achieved, the piston head skirt floats within the high range or “red band.”
This iconic, patented DH-Budenberg red and blue band piston-cylinder system was re-engineered later with both piston and cylinder components manufactured from tungsten carbide. With the refinements in pressure generation and piston manufacturing processes, dual ranges are now available up to 1,400 bar with accuracies down to 0.006 % of reading.
These developments in dual piston technology made deadweight testers, such as DH-Budenberg’s CPB5800 Hydraulic Pressure Balance, the premier deadweight tester for industrial applications. It is especially useful for calibrating a transducer with a wide measuring range, while maintaining the high accuracy for testing and calibration. With the use of only a single mass set and calibrating instrument, this system can automatically switch between multiple test points of high and low pressure, making pressure calibration seamless, efficient and economical.
Note
Further information on our pressure balances can be found on the WIKA website.

