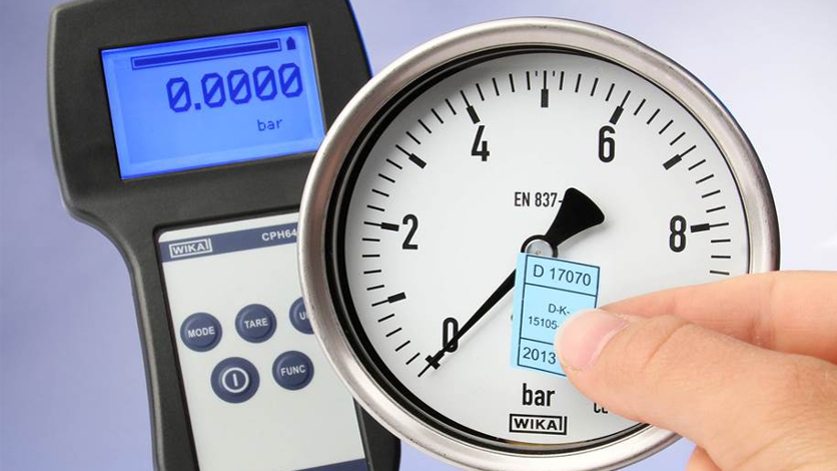
In general usage, the term “verification” is often mixed up with “calibration”. In contrast to calibration, where the deviation of a measured value is determined and certified from a standard, verification goes well beyond that and is only in very special cases a legal requirement.
For a number of measuring instruments, a state-driven legal requirement for verification exists. That means that they may only be used if they have been verified by a nationally recognised testing laboratory. Verification is therefore the state-required testing of measuring instruments. In doing this, based on a consistency quality test, it is determined whether the measuring instruments are able to be verified. In the subsequent metrological testing it is checked whether the measuring instrument complies with the specified maximum permissible errors and conforms to other requirements that are defined in the verification ordinance or in the EU directives. Included in this category are such as water meters, commercial scales, petrol pumps, radar measuring instruments or measuring equipment for automotive exhaust gases. In addition, pressure gauges must therefore only be verified if their suitability (for example because of a specific measurement accuracy) serves to protect the health and safety of people or to measure dimensions in the free movement of goods.
Overview of the differences between verfication and calibration
| Verification | Calibration |
|
Verification – Only when it is a legal requirement (not ISO9000ff):
|
DKD calibration – Specifically if metrological traceability is necessary:
|
Note
The WIKA calibration laboratory is accredited by the German Accreditation Body (Deutsche Akkreditierungsstelle – DAkkS) in accordance with DIN EN ISO / IEC 17025 for the measurement parameters temperature, pressure, DC current, DC voltage and DC resistance. If you are interested in our services, please feel free to contact us at CTServiceTeam@wika.com.
Find out more about the differences between calibration, verification and adjustment in the following video:

